
Stephen has fought another battle in the War of the Roses campaign…
So this is the next one in my Wars of the Roses battles.
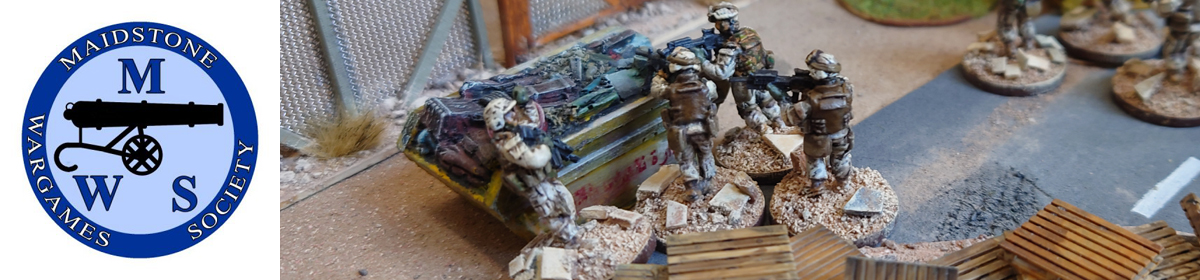
Like all the others, the intent is that anyone should be able to game it. This was played on a 3’x2’ table using Basic Impetus.
This battle was the famous one where the atmospheric phenomenon known as a parhelion was witnessed and was interpreted by Edward of York as the Holy Trinity and was, therefore, an omen for victory. In recognition of this he took the Sun In Splendour as his personal emblem.
But a victory for who?

From a gaming point of view there is one important thing to take into account – the Yorkists deployed some of their archers and cavalry hidden in the woods on the Lancastrian left. I decided that the Lancastrians could not move against these hidden troops unless they either moved or shot their arrows to revel their presence.
The battlefield itself is a rather simple affair. The river Lugg on the east border, and a ridge and woodland on the west. Other than that, it’s all open – these two terrain features dictated the deployment of troops.

How did it go then?
Historically, the Yorkist ambush opened the battle. This had the desired effect on the Lancastrian line. Although the Lancastrians had a slight numerical superiority the Yorkist ambush did the trick and Edward of York sealed the victory.
This is how my re-fight went.
The key was obviously going to be when to spring the ambush. Since both sides were up for a fight there was no postponement of initiative rolls like in previous games – initiative was rolled for from the start. This can frequently mean that one side gets a double go – last to move in one turn and then first to move in the next turn. Would this affect the ambush?
Yes, it would.

The Yorkist plan was to let the Lancastrian knights advance past the hidden cavalry and then be peppered by the archers and Edward of York leading his knights in a charge on the weakened cavalry. Meanwhile, the hidden cavalry would rush out and slam into the Lancastrian infantry line. At least, that was the plan.

Sure enough, forward went the Lancastrian knights. This put them in range of a bow attack from the archers and a follow up charge by the cavalry. This was tempting and would probably rout them. But if things went the Yorkist way (i.e. they won initiative next turn) they could then have their cake and eat it and their plan would go the way they wanted. Had Edward of York’s omen of the parhelion been true – was it a blessing from the Holy Trinity?
Well, if it was, it wasn’t just yet. The Lancastrians took the initiative which meant the Lancastrian knights not only galloped past the archers but they also managed to take the charge into the Yorkist knights (who were being led by Edward).

Meanwhile the rest of the Lancastrian line trudged forward. The Yorkists, kicking their heels at missing out, nevertheless managed to spring part of their ambush and the cavalry charged into the Lancastrian billmen.
Over on the Lancastrian right flank, where they had their currours and hobilars, they decided to spur their cavalry and take the charge to the Yorkist longbows. Otherwise they’d just find themselves turning into pin cushions.

Although the Lancastrian knights had cleared the ambush they were still far from safe. Their charge had taken them past the York battle line, and into the Yorkist knights. They needed to pull this off or they would be in a dire situation. And pull it off they did – they pushed Edward and his knights back and followed up with a pursuit.
The two infantry lines had started sending arrows over at each other, but these long shots had little effect. However, as they closed, casualties started mounting, particularly amongst the Lancastrians. Despite the less than auspicious ambush, it could be the day would still go the Yorkist way.

The Lancastrian levies took firm hold of their spears and went for the Yorkist archers who had despatched the currours. They dropped their bows and took up hatchets and swords and, supported by billmen, gave melee. The result was indecisive – all units suffered hits and stayed locked in combat.
Over in the ambush area things were starting to get dirty. The Lancastrian billmen had stood firm against the cavalry and routed them! But that wasn’t all. The struggle between the Yorkist and Lancastrian knights also came to a conclusion – the Lancastrian knights had won the fight and not only routed the Yorkist knights but had also killed Edward as well!
So much for the Holy Trinity!

This still wasn’t the end for York, far from it. On the eastern flank, by the banks of the Lugg, the Yorkist infantry had routed the Lancastrian levies. In the middle it was still a mix – the two lines had yet to come to blows, preferring to exchange bowfire. This had affected both sides with no absolute winner.

In the west, by the woods, the ambush had come to nothing. The cavalry had been beaten, the Lancastrian knights had slipped through and killed Edward of York, and it just left the archers, feeling all alone and surrounded.
It wouldn’t go on for much longer. The Yorkist archers inevitably fell. This was the straw that broke the camel’s back. Enough was enough, and the army of York had reached its break point. Victory would go to Lancaster!

It had been a slight victory. Had the Lancastrians lost one more unit it would have been a York victory.
The undoing had been the poorly executed ambush. It had been a gamble on whether to wait for ideal conditions, and a gamble that didn’t pay off. It didn’t help that dice rolls had been poor all game, poor for both sides, meaning that fights drew on. Any winners in combat had generally taken such a pummelling that though they may have won they had also been left spent.

Next up is a return to St Albans…
You must be logged in to post a comment.