
Stephen takes a break from his War of the Roses games to revisit the American Civil War…
I fancied an ACW game, and since I had a scenario for Chickamauga already written out for play at the club (whenever that will be) I decided I’d have a solo game and give it a go.
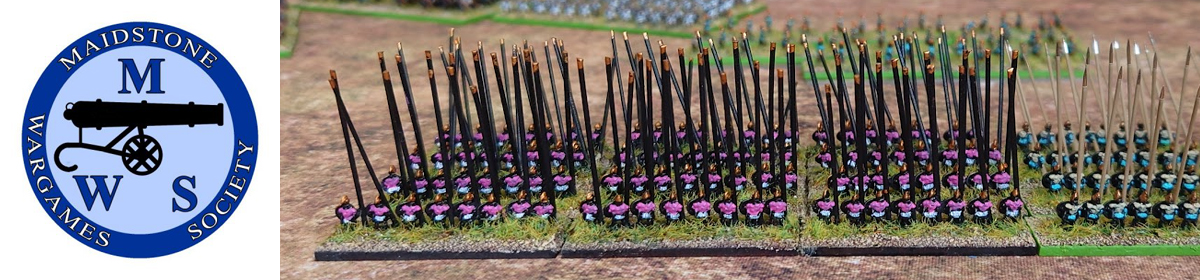
I don’t have enough models to do the whole of Chickamauga so I decided to concentrate on one small part – the Confederate attempt to outflank the Union left on 19 September. This would be a challenging battlefield – nearly all wooded! Normally a piece of felt on the table indicates woodland, but not this time – the felt indicated open spaces. Everything else was woodland, so would be difficult going and all engagements would be at close range. So a potentially deadly battlefield (as indeed it was, both historically and in my re-fight).
The objective was simple – the Confederates had to get a brigade on the opposite side of Lafayette Road and take fewer casualties than the Union. The Union had to stop them. During the course of the battle fresh brigades would arrive on both sides.
Let’s see how it played out…

The Union won the initiative in the early rounds, allowing them to dictate the course of the battle. I pulled Croxton’s brigade back – he was on his own, far forward, at the junctions of Alexander Bridge Road and Walker’s Road and staring down two Confederate divisions on his own. But on the next turn I realised I’d made a mistake – an uncontested advance is just what the Confederates wanted, so I decided to push him back forward to stall the Confederates and to bring up Baird’s Union division and Turchin’s brigade (and feed in the rest of Reynold’s division when it arrived). This would hold the Confederates back.

Up on Reed Bridge Road Pegram set up his artillery and got his cavalry ready for a charge against the Union line. In hindsight I should have dismounted the cavalry, but I was carried away by the romance of a cavalry charge. Whilst the cavalry got ready Pegram’s artillery started a duel with the Union artillery to soften them up before the cavalry went in with their sabres.
Confederate corps commander, Leonidas Polk, along with Cheatham’s division arrived on table in the area of Alexander Bridge Road, meaning that flank was heavily loaded against the Union. Liddell’s division led the Confederate advance and with bayonets fixed and a wild rebel yell they charged Croxton and Turchin. Surprisingly, they were bounced back – the Confederate charge didn’t go in.

Inspired by the infantry’s zeal the Confederate cavalry did likewise, and charged in. The effect was just the same – repelled by the Union line.

Meanwhile, to the south (the Union right flank) Baird’s division still moved up slowly. This was caused by the need to keep the artillery in line with the foot brigades.

Further south, as the rest of Reynold’s division came on, they found themselves all that stood in the way of two aggressive Confederate divisions.

Wilder’s cavalry brigade launched a daring and foolish charge against the Confederates – outflanked and outnumbered they were shot down and cut down.

It started to dawn on the Union that the right flank was looking very weak with not much (a lone artillery battery) between the confederates and Lafayette Road. Further north, Brannen’s division held firm against Pegram and Forrest. Pegram’s cavalry had taken a mauling so were pulled back and Forrest’s infantry were pushed forward.

Baird’s slow advance actually paid off here because he hadn’t moved too far forward and was able to pull back Starkweather’s brigade and an artillery battery into an enfilading position to try and do something about the Confederates who realised how close they were to victory with little to stop them securing Lafayette Road with a mad dash.

Starkweather’s repositioning proved successful. The Confederates had used Wright’s brigade to screen Jackson’s brigade’s dash for the winning line. But Wright took a hell of a pounding and paid the price – his brigade was obliterated and routed off the field. Sure enough, Jackson had made it to Lafayette Road, but the Confederates had taken quite a few casualties and lacked the oomph to assert control over the road.

In the end it was a historical outcome – the Confederates moved on Lafayette Road but didn’t have the manpower to completely take it. Further north, the Union troops held firm and stopped Forrest’s advance. Neither side could really claim a convincing win at this stage (the full battle went on into the 20th Sept and would ultimately be a Confederate victory).


 Along with the Tu128’s, who were unable to spot anything, the Buccaneers also entered on turn 2; spotting their adversaries they dive one level to get into the ground clutter. The F4’s spot the Tupolev’s, but both fail their Sparrow launch roll.
 On turn 3 a pair of MiG-25’s now appear for the Soviets and this time the pair are an ace and an experienced pilot.
 The green Tupolev pilot detects the F4’s but one AA5 fails to launch and the other misses. I discovered a reference that Soviet doctrine often saw missiles launched in pairs one IR and one radar homing, to increase the chances of a kill. I forgot however, that I wouldn’t be able to use the IR missiles except at very specific angles and treated them all as radar guided. Meanwhile the Tupolev lead also fires a pair and gets one hit on the FAA ace. This is unfortunate for the Soviets as the AA5 is a big missile and more likely to get a kill from a hit. Meanwhile, the ace Foxbat pilot fails to detect anything, but his wingman spots the Phantoms. Unfortunately, the AA6’s fail to launch. The experienced F4 pilot gets off a sparrow shot at the Tupolev, but it misses.
 The MiG leader detects the Buccaneers powering across the table at low level but can’t get a lock. They are too low and the angle is too difficult.
 Turn 6 and the lead Tupolev has no missiles left and dives, but his wingman detects the remaining ace from the original flight of F4’s and hits with two AA5’s, destroying the Phantom. The newly arrived Phantoms pick up the MiG-25’s; the ace fails with one launch but the second is successful and destroys the MiG. His wingman sees two sparrows miss.
 Turn seven and the ace F4 goes for a sidewinder shot on the second Tupolev but misses, while the other F4 goes after the lead Tupolev. And in turn eight gets a hit, but this only damages the big aircraft, which flies off to the east. His wingman however gets on the tail of the trailing Tu128 and on turn nine manoeuvres with a barrel roll and a sideslip to launch a sidewinder, destroying it. Not bad for a rookie!
 Finally in turn ten, the remaining MiG, the last soviet fighter on the table, launches against the F4, which has turned north-east after destroying the Tupolev, but its two AA6 miss.
 The Soviets destroyed two F4’s while the FAA scored a MiG, Yak 28, and a Tu 128 with another damaged. The Buccaneers escaped to make a strike on the Northern Fleet. Now you are wondering what happened to the Saab and Tu 142? Initially some things about this game made me think that I wouldn’t write it up and I set up a second game which included these aircraft, and the Yak 28 as the ECM Brewer E.


You must be logged in to post a comment.