Stephen embarks on a modest endeavour to refight the War of the Roses…
I decided that I would re-fight all the major battles of the Wars of the Roses (well, those listed on www.britishbattles.com) in order.
So first up is the First Battle of St Albans.
For rules I am using Basic Impetus, because these will be solo games and Basic Impetus provides a nice and simple game that lasts just about as long as you want it to. For anyone who might also be interested in having a go then here’s the order of battle I cobbled together for the game:

I went with a historical deployment, and after that the battle was mine.
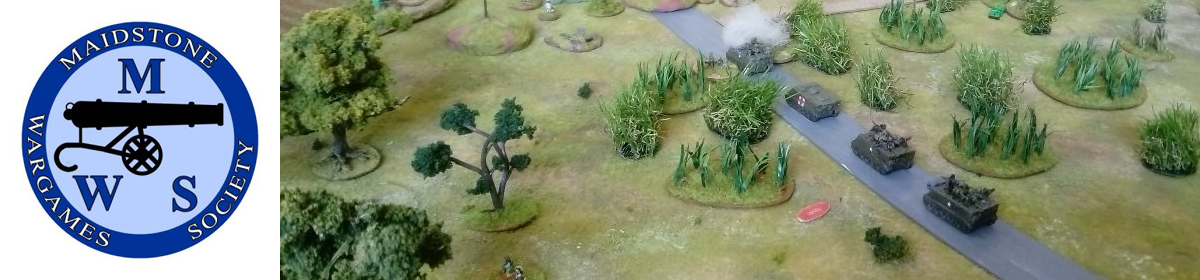
So, the Yorkists had Salisbury on the left flank, Warwick in the middle, and York on the right. The Lancastrians had Somerset on the left, King Henry in the middle, and Clifford on the right. Although it’s clear the battle ended in the town, it’s unclear where it started. I went with the Lancastrians positioned on the edge of town and the Yorkists crossing the fields. The Lancastrians had barricades protecting the lanes, and I decided these would negate the Impetus bonus for any charge across them (in either direction).

There was no reason for the Lancastrians to move out from a defensive position (in fact, a lot of the battles during the war were assaults against prepared positions), so I let the Yorkists take initiative for the first couple of turns until they got within bow range. At that point it became important who had initiative each turn so then started dicing for it.
York led his nobles down Shropshire Lane toward the Lancastrian defences whilst Salisbury led his men down Sopwell Lane.

This left Warwick, who had the largest contingent, across the fields. The early rounds looked bad for the Yorkists. In fact, I was wondering how on earth they could win – the Lancastrian bow fire took out two Yorkist units before units met in combat.
The battlefield formed a natural funnel – the fenced lanes gave little room for manoeuvre, which meant any jockeying for position was down to Warwick. In fact, it would turn out this is where most of the action would take place.

Just a few turns in, and I thought I had been careless with York’s deployment. His archers went down, leaving the plate-armed nobles to push forward as quick as they could, all the while taking fire from the ensconced archers under Somerset. If they went down, then York would go with them and that would be that!
The same could be said for Salisbury, who got locked in an archery duel against Clifford. Warwick, in the middle, was also looking weak since he had lost units going in.

Yes, things were looking good for King Henry!
The Yorkists were not gaining anything by exchanging bowfire. This was partly because I forgot I had classified some of the Lancastrian archers as levy and was rolling for them as retinue quality. Oops.
Warwick needed support, because it was becoming clear that this was where the main battle would be – to punch through and nab the king. So levy spearmen were funnelled into the middle to support Warwick against any losses.

Down in Sopwell Lane things had stalled. Eventually, Salisbury decided to bring it to a head – he urged his billmen forward who swapped lines with the archers and forward they went. Clifford realised his archers would fair poorly against the bills, and he did likewise – pushing his billmen forward.
Meanwhile, along Shropshire Lane, the Duke of York’s dismounted nobles surged forward and smashed into Somerset’s line. If it went badly, then that would be the end of the battle. But York prevailed!

Although the Lancastrian archers had given good account of themselves, once Warwick’s billmen got stuck in things soon started to change. The archers soon fell under their blows, and so the King ordered forward his nobles.

But as the Lancastrian archers had rolled well in the initial turns, it was now the turn of Warwick’s troops to be blessed with good dice rolls.
The battle had really been fought in the middle, and when the Lancastrian nobles were cut down, then King Henry went with them!
It would be a Yorkist victory!

So that was my re-fight of First St Albans finished. I really didn’t see how the Yorkists could win. But once they got stuck in, then things started to turn around. In hindsight, the levy spearmen should have been deployed with Warwick in the first place, instead they lost several moves and had to manoeuvre into position where they could support Warwick’s assault.
Like this:
Like Loading...


 Boromir’s overcoat is Black, with Black Grey highlights on raised edges, his robe is Red. The small amount of mail visible is black with a Gunmetal Grey drybrush. His boots and vambraces are German Camouflage Medium Brown, belts German Camouflage Black Brown and hair Light Brown. The Horn of Gondor is Buff with the end Tan Yellow, with silver scroll work. His shield (slung on his back) is Black Red with Gunmetal boss and rim.
 Gandalf the Grey has Light Grey tunic and London Grey robes, highlighted Light Grey. Belts are Dark Grey. His hat is Grey Blue. (Definitely a grey theme here). His staff is Beige Brown with an AP Crystal Blue tip. Glamdring is Silver. Hair and beard are Dark Sand.


You must be logged in to post a comment.